When the air smells of frost and holidays, we strive to fill our homes with a special kind of warmth. We buy shiny baubles and garlands but often forget about decorations that carry the true spirit of Christmas — quiet, natural, and full of tradition. Straw snowflakes are more than just decor. They are a touch of our ancestors’ heritage, the scent of the fields, and magic created with our own hands. Many admire these golden stars but are afraid that making them is too difficult.
Forget any doubts! This master class will prove to you that anyone can turn a handful of ordinary straws into an elegant Christmas ornament. We will show you step-by-step, with detailed photos and simple diagrams, how to prepare the material and tie your first, perfect snowflake. Discover the cozy world of eco-crafting and create decor that has a soul!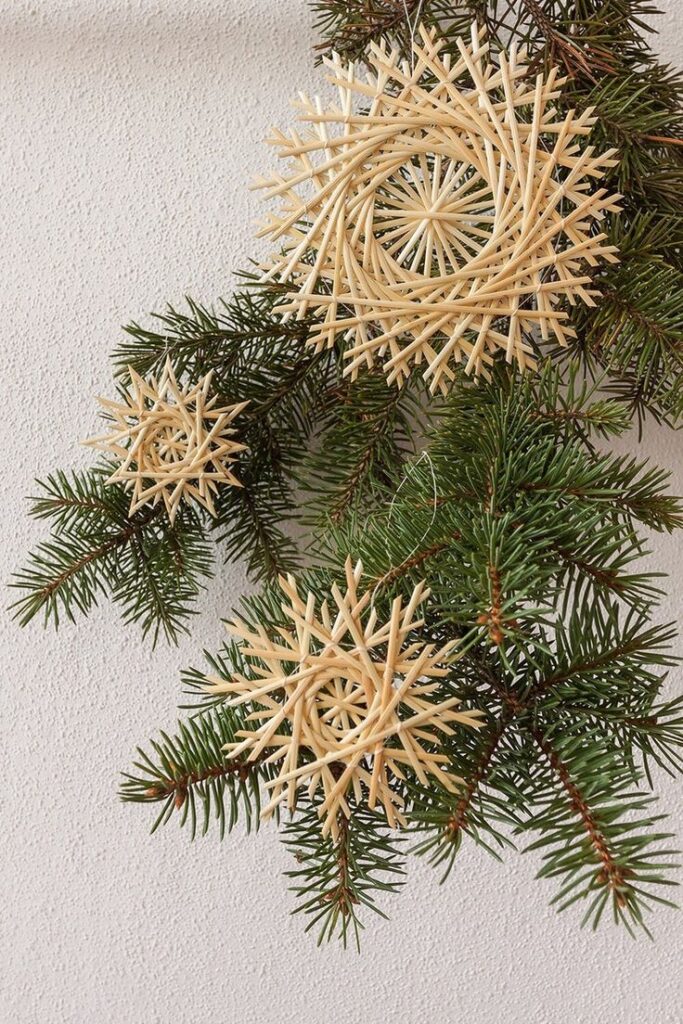
Why Straw? The Benefits of a Forgotten Material
In a world of plastic and glitter, straw ornaments look particularly valuable. Here’s why:
-
Eco-Friendly: This is a 100% natural, biodegradable material. By creating such decorations, you care for the environment.
-
Authenticity: Straw weaving is an ancient craft. Each snowflake carries a piece of history and cultural code.
-
Uniqueness: Every straw has its own shade and thickness, so your snowflakes will never be identical. This is beauty in imperfection.
-
Affordability: Straw is an inexpensive, and sometimes even free, material for crafting.
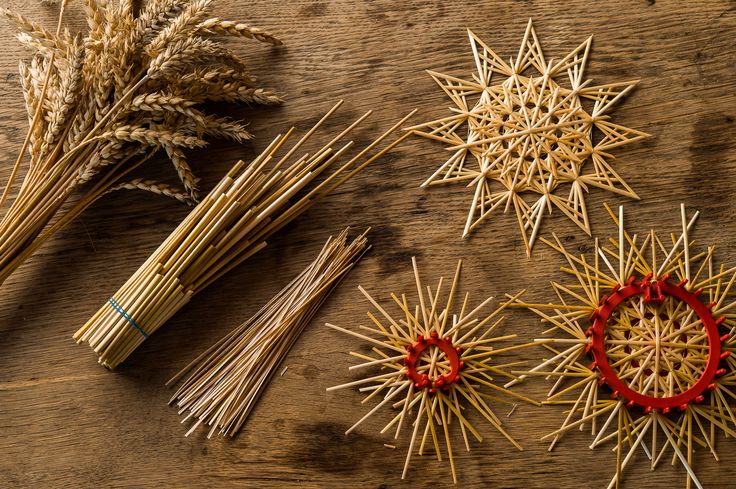
Preparing for the Magic: What You’ll Need
Proper preparation is half the battle. The list of materials is very simple, but it’s important to pay attention to the quality of the straw.
Materials and Tools:
-
Straw: Rye, wheat, or oat straw works best. You’ll need straight, smooth stems without knots.
-
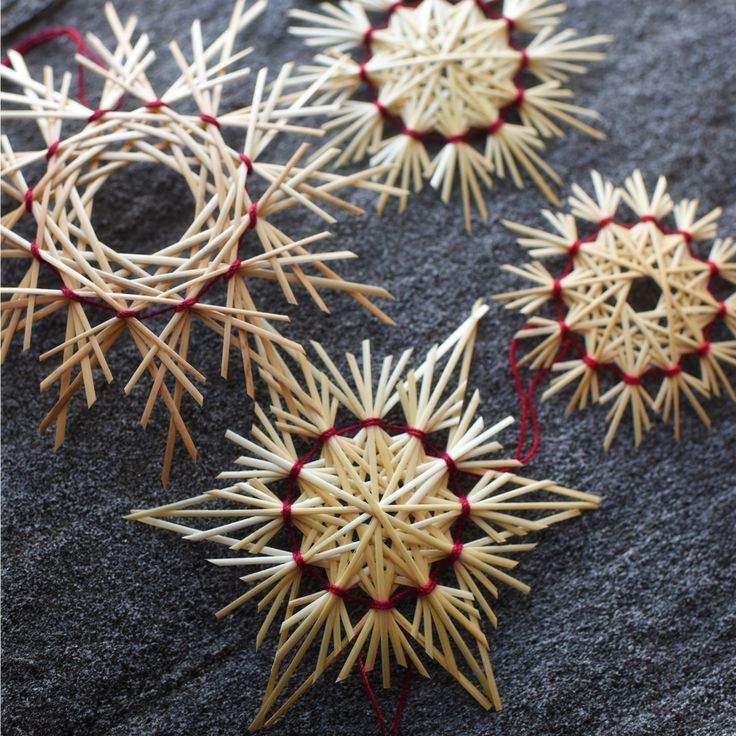
Strong Thread: Cotton or linen, in white, red, or gold.
-
Sharp Scissors: For a clean cut.
-
Ruler: For cutting straws of the same length.
-
Large Needle (optional): For convenience when working with thick threads.
-
A bowl of warm water.
The Most Important Step: How to Prepare the Straw
Dry straw is very brittle and will break during work. To make it flexible and elastic, it needs to be properly prepared.
-
Soaking: Place the straws in a bowl of warm (not hot!) water for 30-60 minutes.
-
Checking for Readiness: The straw is ready when it becomes soft, bends easily, and doesn’t crack.
-
Drying: Remove the straw from the water and wrap it in a towel to absorb excess moisture. The material should be damp but not wet for working.
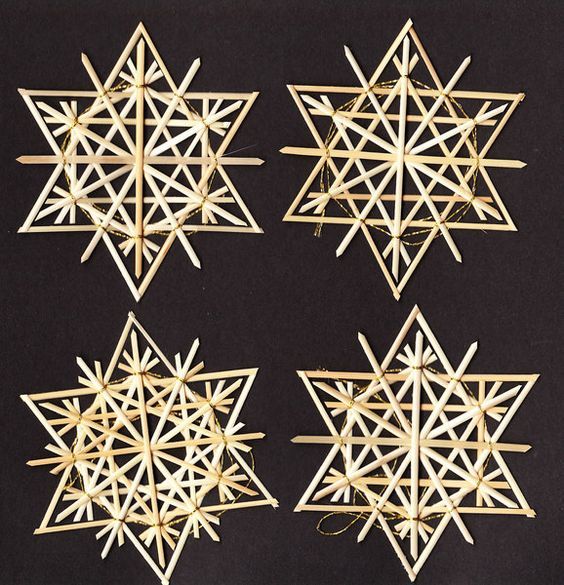
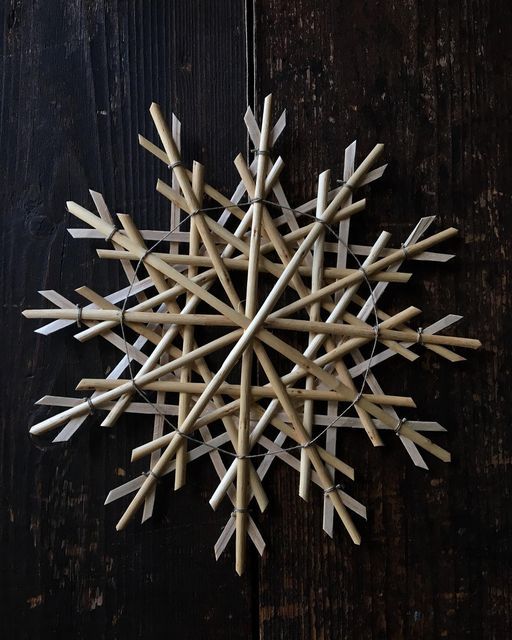

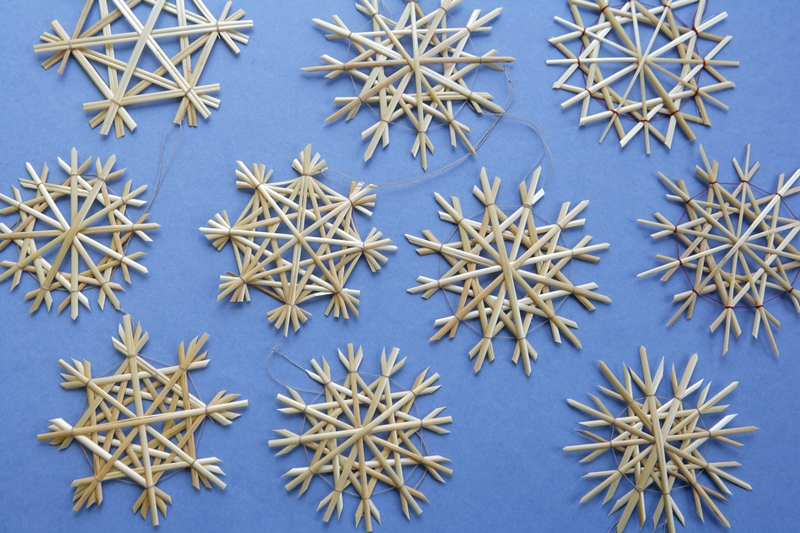
How to Make a Classic 8-Point Straw Snowflake: A Step-by-Step Master Class
This is a basic model that, once mastered, will allow you to create much more complex patterns.
Step 1: Cut the Blanks
From the prepared damp straw, cut 8 absolutely identical pieces. For your first time, an optimal length is 3-4 inches (8-10 cm).
Step 2: Form the Base
-
Take 4 straws and arrange them in a “hashtag” (#) pattern, placing them one on top of the other exactly in the center.
-
Tie them tightly in the center with a thread. Make a few crosswise wraps for security. You will get a cross with 8 points.
Step 3: Add the Other Points
-
Take the remaining 4 straws.
-
Place them diagonally between the already secured points.
-
Once again, tightly wrap the thread around the center, capturing all 8 straws, so they form an even “star.” Pull tight and tie a knot.
Step 4: Create the Pattern
This is the most exciting part! We will tie adjacent points in pairs to form an intricate pattern.
-
Measure an equal distance from the center on two adjacent points (for example, 1 inch or 2 cm) and tie them tightly with a thread.
-
Do the same with the next pair of points, and so on around the circle.
-
If desired, you can make another row of ties, moving another 0.5-1 inch (1-2 cm) out.
-
After finishing the weaving, trim the ends of the snowflake with scissors so they are all the same length.
-
Attach a loop of thread to hang the ornament.
Place the finished snowflake under a press (like a heavy book) until it is completely dry to ensure it is perfectly flat.
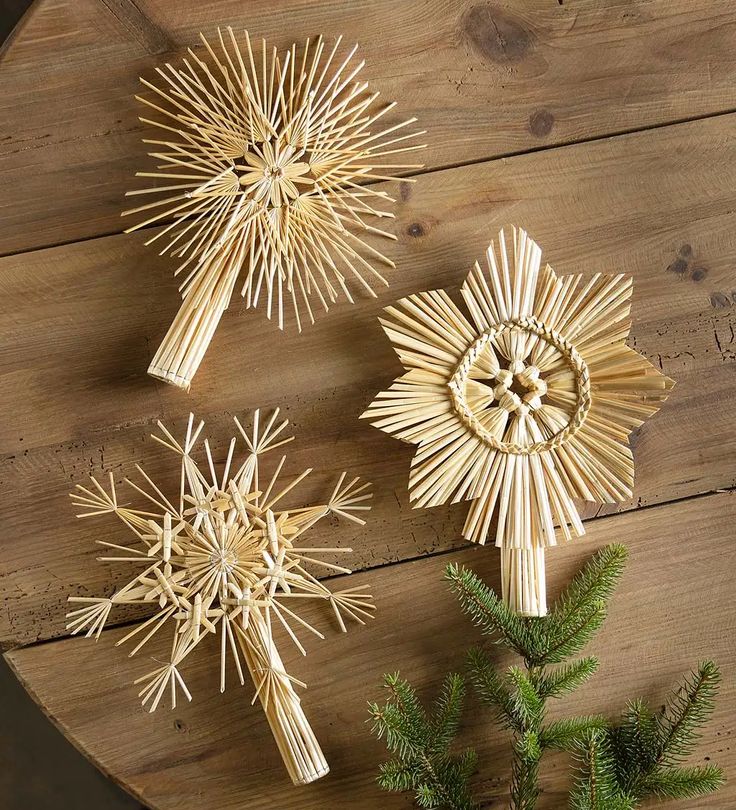
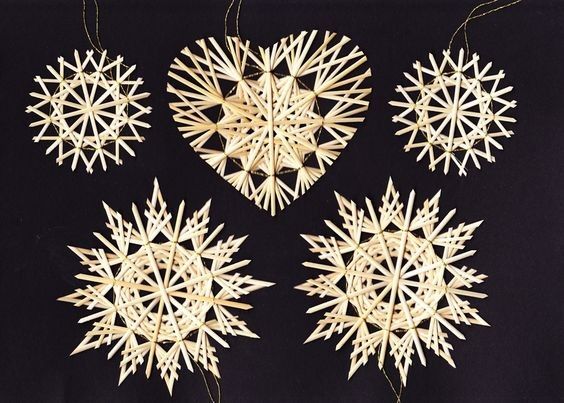
Ideas for Inspiration: More Complex Patterns
-
Layered Snowflakes: Make two snowflakes of different sizes and place one on top of the other, offsetting the points.
-
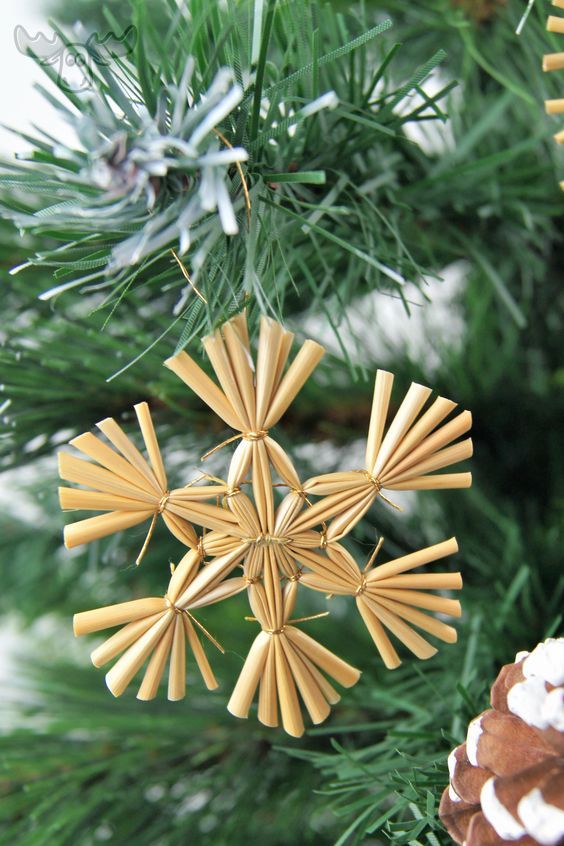
Snowflakes with “Loops”: Cut a straw lengthwise and flatten it with your nail. Make small loops from the resulting ribbon and weave them into the base.
-
Bead Decorations: Add small wooden beads to the tips of the points or at the tying points.
-
Combining Lengths: Use straws of different lengths: 8 long and 8 short, alternating them.

Straw snowflakes are authentic decorations that add a special warmth to the home.
Straw snowflakes are authentic decorations that add a special warmth to the home.
Frequently Asked Questions (FAQ)
1. Where can I get straw if I live in a city?
You can find craft straw in art supply stores, on online platforms with handmade goods, and in pet stores (straw for rodents, but choose the straightest pieces).
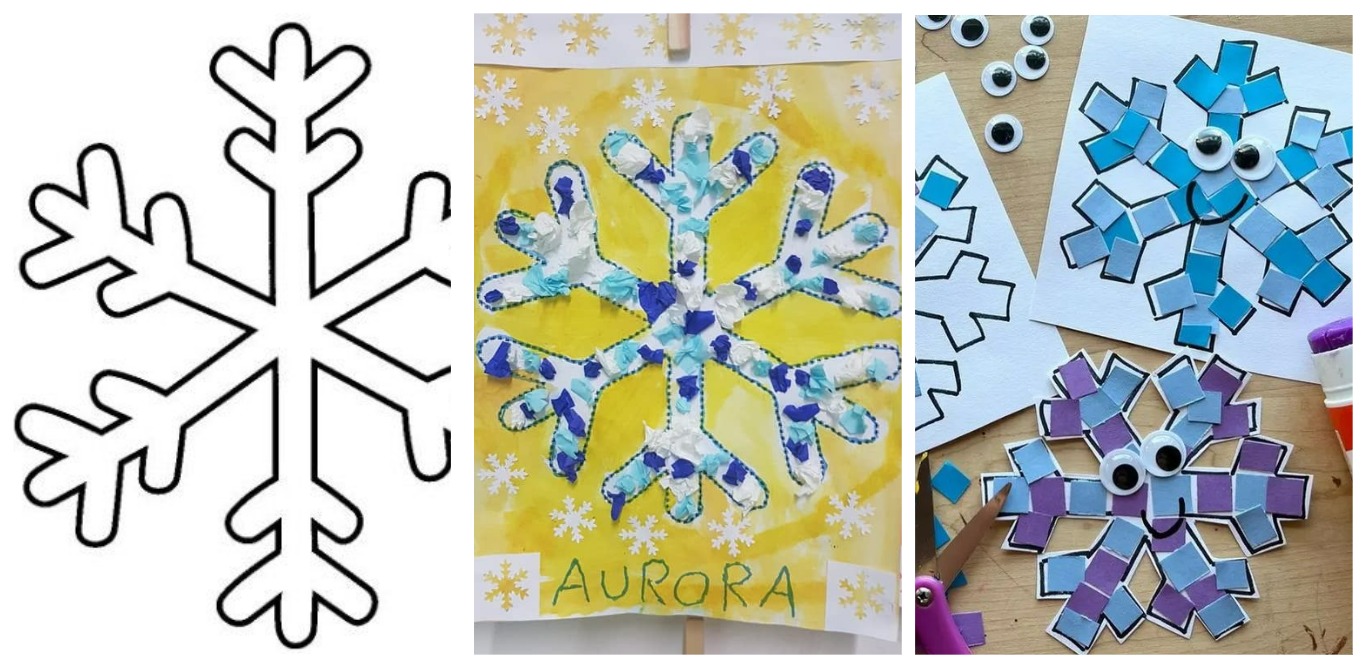
2. Is this DIY craft suitable for kids?
Yes, but under adult supervision. Children aged 8-9 can be trusted with cutting and tying. For younger children, the preparatory work (soaking, cutting) should be done by an adult.
3. How should I store straw ornaments?
Store them in a cardboard box, layered with paper, in a dry place. This way, they won’t darken, break, and will serve you for many years.
Conclusion
Making straw snowflakes is not just about creating a Christmas ornament. It’s a meditative process that calms, reconnects us with nature, and our own roots. This simple, golden star will fill your home with a coziness that can’t be bought in any store.
Don’t be afraid if your first snowflake isn’t perfect. The most important thing is the warmth of your hands and the joy of creation. Give it a try, and you’ll see how a real Christmas miracle is born from ordinary straws.
Have you tried making decorations from straw? Share your experience and photos of your work in the comments!