When the frost paints icy patterns on the windows and the air fills with the faint scent of pine needles and mandarins, our souls crave a special coziness. We take out boxes of Christmas ornaments, but often feel they lack individuality and warmth. We want something unusual, created with our own hands, but ideas quickly run out.
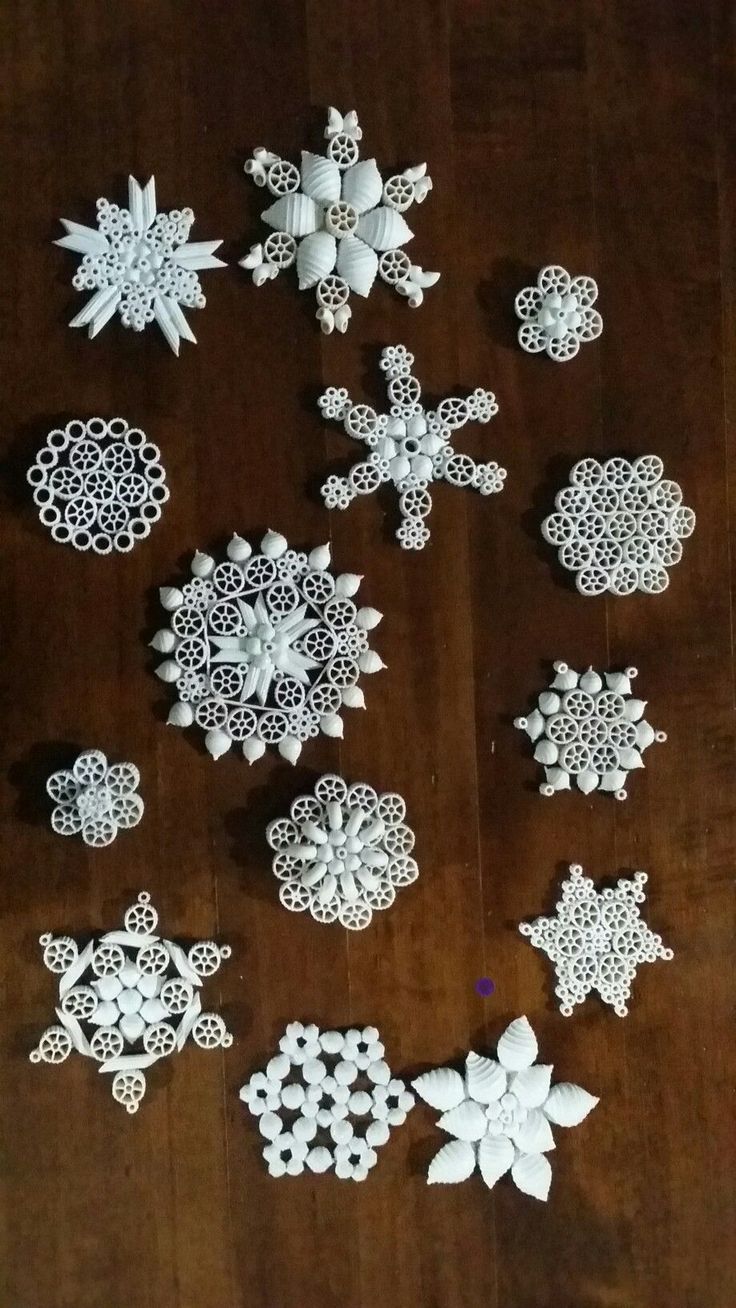
What if we told you that a real treasure for exclusive winter decor is hiding right in your kitchen? Yes, it’s ordinary pasta! This article is your complete treasure chest of inspiration. We have gathered a unique collection of ideas that will teach you how to turn simple pasta shapes into incredibly beautiful, intricate snowflakes. From the simplest for crafting with kids to complex compositions worthy of being the main ornament on your Christmas tree. Get ready to be amazed!
Why Pasta is the Perfect Craft Material for Kids
Before we start, let’s understand why this material is so popular among crafters all over the world:
-
Affordable and Accessible. Pasta costs pennies and is sold in every store.
-
Incredible Variety of Shapes. Wheels, spirals, shells, bows, tubes—each type can become a unique element of your snowflake.
-
Easy to Work With. Pasta is easy to glue, paint, and decorate.
-
Perfect for Kids. It’s a safe and exciting material for developing fine motor skills, imagination, and spatial thinking.
Getting Ready for Magic: What You’ll Need
Before you start creating, gather your “magic kit.”
-
Pasta: The more varied, the better! Tubes or spaghetti are perfect for the rays, wheels or stars for the center, and small horns, shells, or bows for decoration.
-
Glue: The best option is a hot glue gun; it glues instantly and securely. For working with small children, thick PVA glue or clear “Dragon” glue is suitable, but they need time to dry.
-
Base (optional): For large and sturdy snowflakes, you can use a small circle cut from cardboard, on which the elements will be glued.
-
Paint: The most convenient is aerosol spray paint (white, silver, gold). It applies an even layer and dries quickly. Acrylic paint will also work.
-
Decorations: Glitter, salt, or semolina for a frost effect, rhinestones, beads.
How to Make Your First Pasta Snowflake: A Step-by-Step Guide
-
Plan the Design. Sketch out on a piece of paper how your snowflake will look.
-
Create the Center. Take one central element (e.g., a wheel) or glue several (6-8) shell pasta pieces around the center.
-
Add the Rays. Glue long tube pasta pieces to the central part, distributing them evenly in a circle.
-
Add Details. Add smaller elements to the rays, creating an intricate pattern.
-
Paint. When the glue is completely dry, place the snowflake on a newspaper and evenly cover it with spray paint.
-
Add Sparkle. While the paint is still wet, generously sprinkle the snowflake with glitter.
-
Attach a Loop. Make a loop from a ribbon or thread and glue it to one of the rays.
A Unique Collection of Ideas: From Classic to Avant-Garde
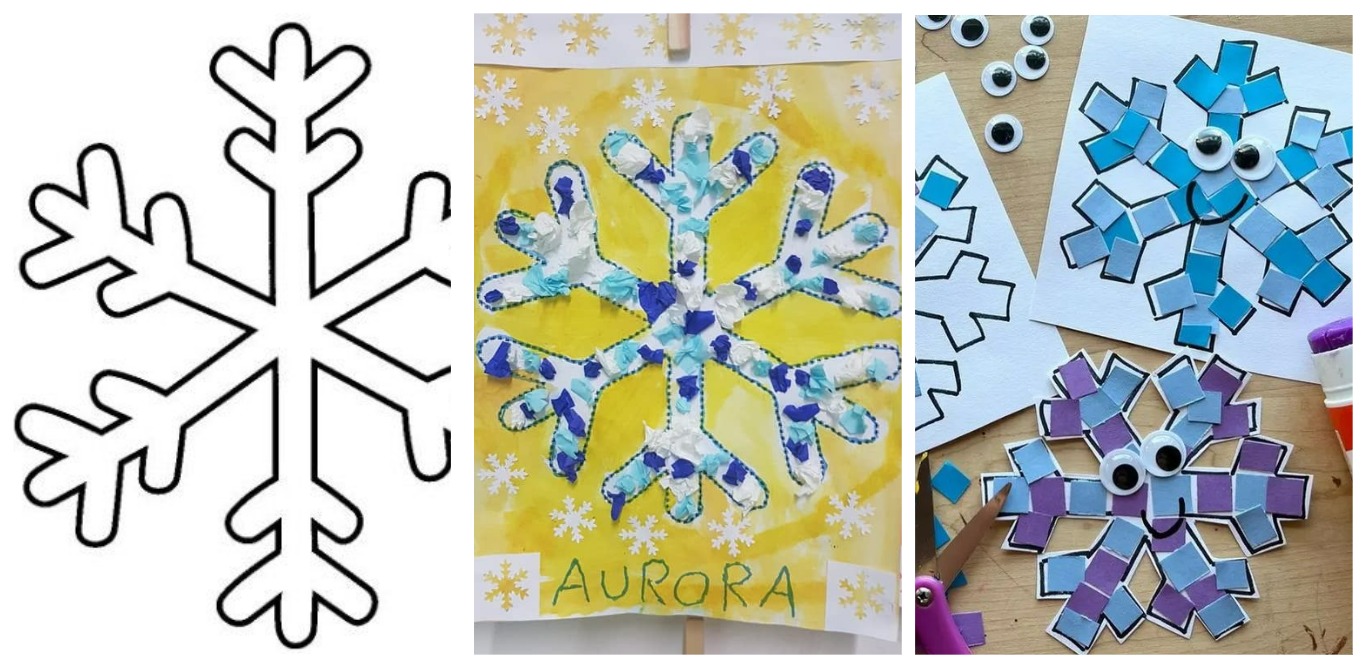
Easy and Classic (Perfect for beginners and kids)
-
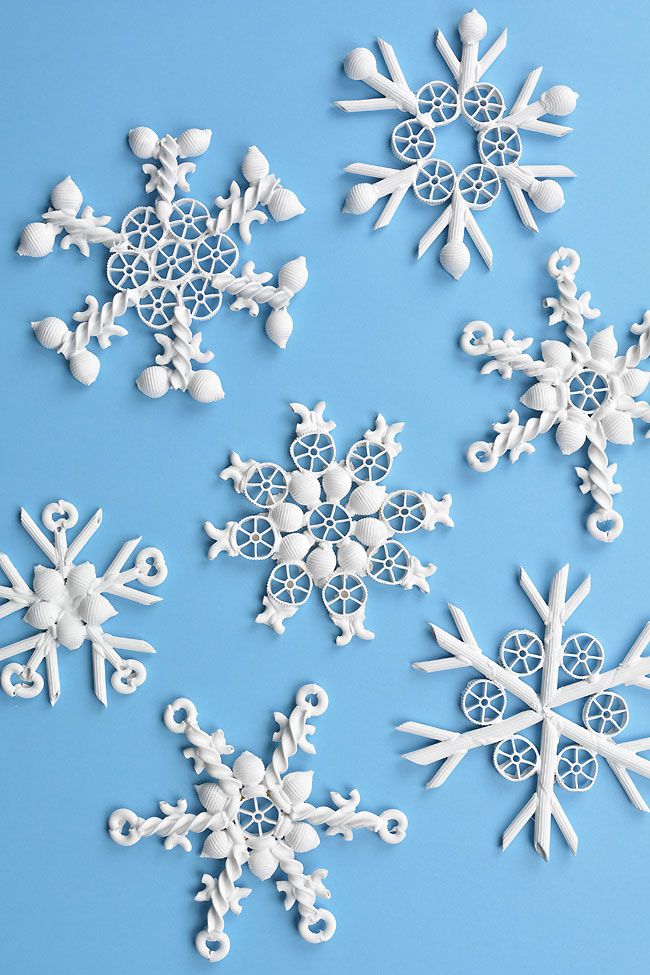
“Wheel-Sun”: Glue 6-8 shell pasta pieces around a central wheel.
-
“Star of Tubes”: Glue 3-4 long tubes crosswise, and glue a bow in the center.
-
“Fluffy Flower”: Make the center from a wheel, and the rays from spiral pasta.
-
“Simple Geometry”: Use only one type of pasta, for example, horns, arranging them in a symmetrical pattern.
Intricate and Complex (For patient crafters)
-
“Frosty Lace”: Create a multi-layered snowflake. On a finished simple base, glue a second, smaller layer of finer pasta.
-
“Crystal Palace”: Use long spaghetti for thin, sharp rays, and string small ring pasta onto them.
-
“Stained Glass Snowflake”: Make the snowflake frame, and fill the gaps between the rays with small star pasta.
-
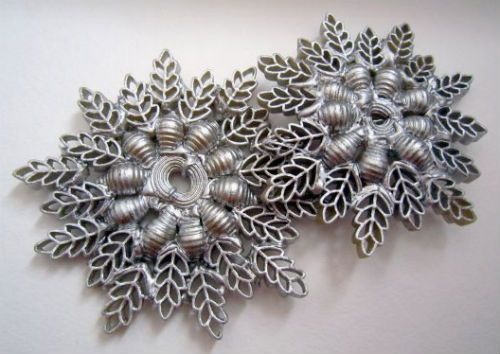
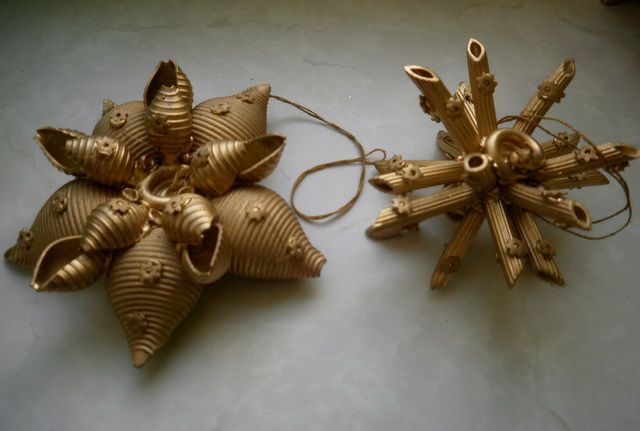
“Baroque”: Combine different shapes—large shells, twisted spirals, figured bows—creating a lush and voluminous composition.
Creative and Unusual
-
“Spiral Blizzard”: Make a snowflake using only spiral pasta of different sizes.
-
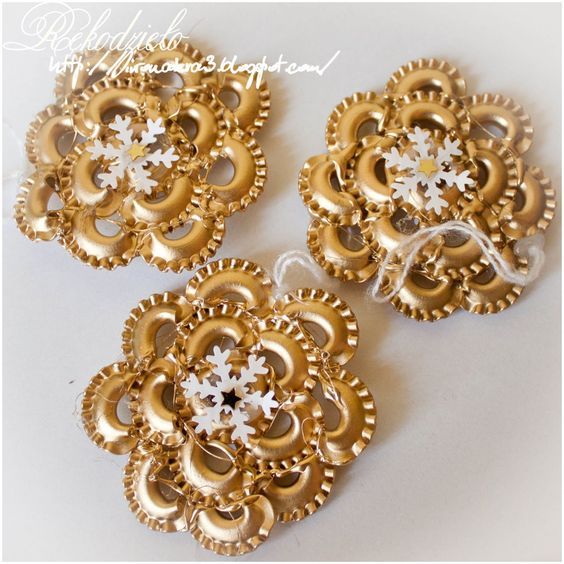
“Wreath Snowflake”: Glue a large circle of wheel pasta, and then decorate it on the outside and inside with other shapes.
-
“Blue Frost”: Paint the snowflake white, and lightly tint the tips blue. Sprinkle with salt for a frost effect.
-
“New Year’s Clock”: Make a round snowflake, and glue 12 small pasta pieces around the circle to imitate a clock face.
Frequently Asked Questions (FAQ)
1. What glue is best and safest for working with children?
For children, thick PVA glue is best. It’s non-toxic. Just pour it into a bowl and let the child dip the pasta and arrange it on a cardboard base. Be prepared that this craft will take several hours to dry.
2. Will the decorations spoil over time? Will they attract insects?
If you cover the snowflake with a layer of paint, and then, if desired, with varnish, it will be reliably protected from moisture and pests. Such ornaments can be stored for years.
3. How to make the snowflake stronger?
For large and heavy snowflakes, use a cardboard base. You can also carefully apply another layer of PVA glue to all joints for extra strength before painting.
Conclusion
Making pasta snowflakes is a wonderful world where the flight of imagination has no limits. It’s the perfect way to create unique, heartfelt, and absolutely exclusive Christmas decorations without spending extra money. This process is so captivating that it can become a new Christmas tradition for your family.
Don’t be afraid to experiment, to combine unexpected shapes and colors. Get out your kitchen treasures and turn them into little winter masterpieces!
What pasta snowflakes did you make? Share your ideas and photos in the comments!