After a flurry of holiday preparations and creative evenings, every home is left with a mountain of colored paper scraps, shiny wrapping, and old magazines. The first thought is often to just toss it all in the bin. But wait! These seemingly useless pieces are a real treasure for kids’ crafts. Many parents are looking for simple yet engaging ideas for winter projects that don’t require complex materials or skills.
We have the perfect solution for you — a “Paper Scraps Snowflake” craft. This is an incredibly simple, budget-friendly, and beneficial technique that turns paper scraps into a magical winter mosaic. In this article, you will find not only a step-by-step guide but also free printable templates that even the youngest artist can master. Let’s create some icy magic together!
Turn paper scraps into a true winter fairy tale!
Why This Craft is Perfect for Kids
Creating art from torn or finely cut paper is more than just a fun way to spend time. It’s an incredibly beneficial activity that educators and psychologists recommend for a child’s comprehensive development.
-
Develops Fine Motor Skills. Tearing small pieces of paper is the best exercise for little fingers, preparing the hand for writing.
-
Provides Sensory Experience. The child touches paper of different textures (glossy, matte, velvety), which enriches their tactile sensations.
-
Boosts Creativity. No two scraps are the same, so each snowflake turns out absolutely unique.
-
Promotes Eco-Consciousness. You show your child how to give old things a second life, turning trash into beauty.
-
Accessibility. You don’t need to buy anything special for this DIY craft — everything you need is already at home.
Getting Ready for Crafting: What You’ll Need
The list of materials is so simple that preparation will take you no more than five minutes.
-
Base: A sheet of thick paper or cardboard in a dark color (blue, purple, black). A white snowflake will look most impressive against such a background.
-
Paper Scraps: Scraps of white and blue paper, old magazines, silver candy wrappers, or unwanted napkins.
-
Glue: A regular PVA glue or a glue stick works best.
-
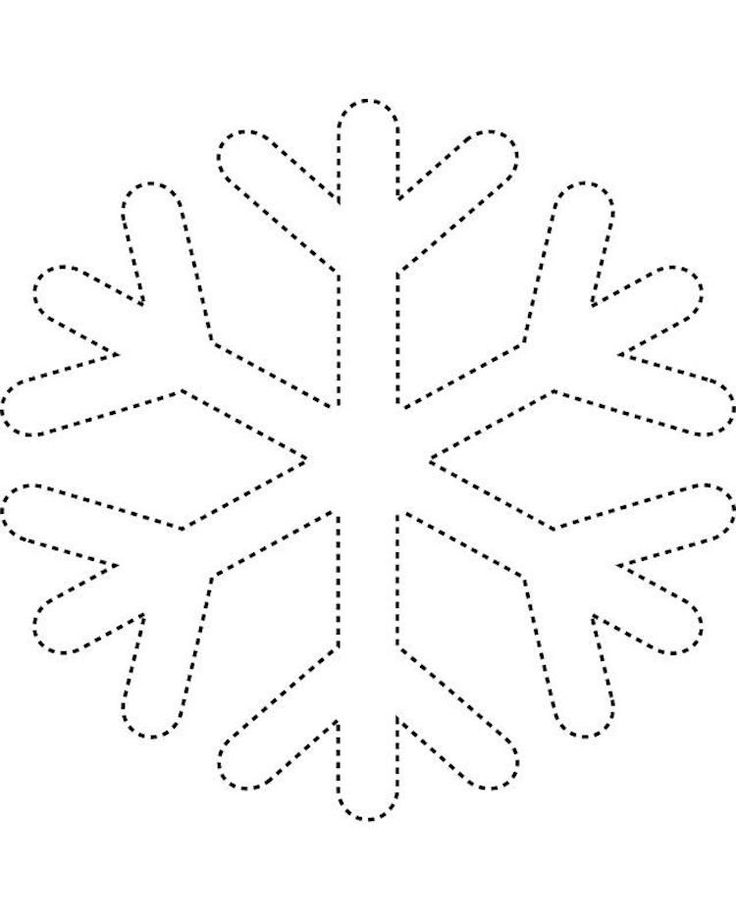
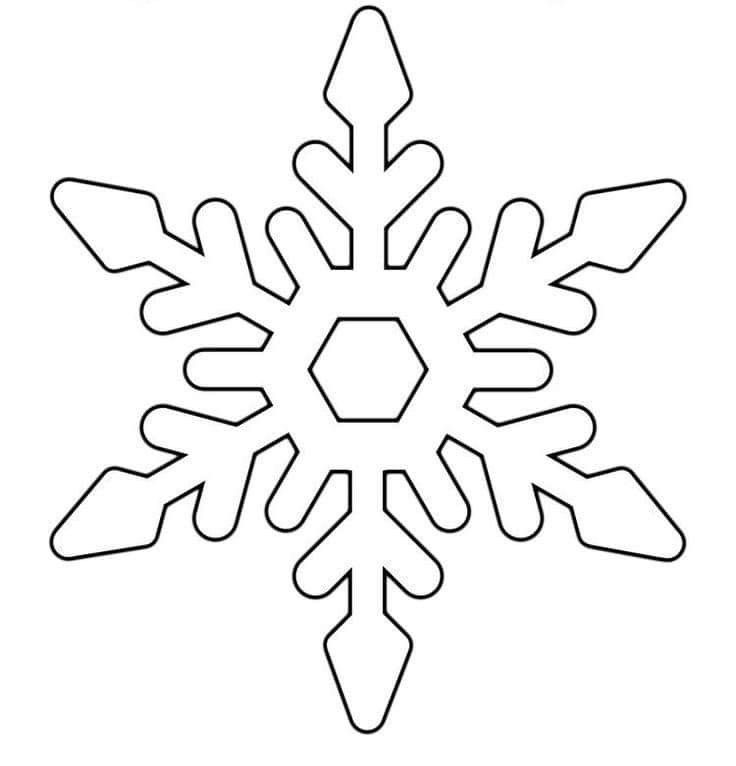
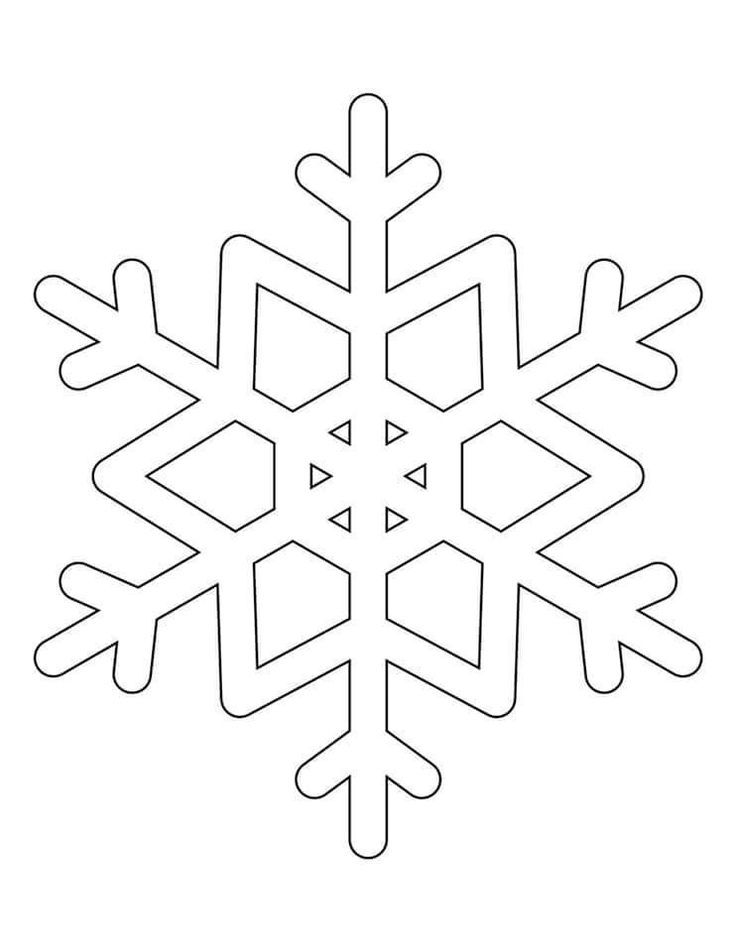
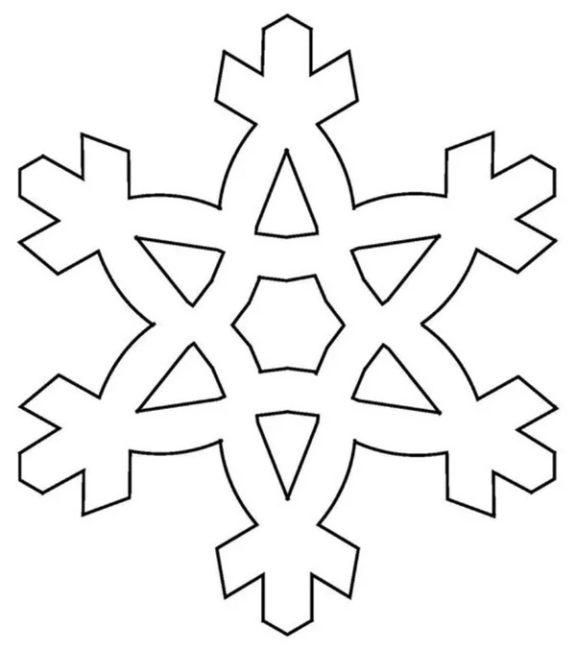
Snowflake Template: You can print one of our free printable templates.
-
Optional Decor: Glitter, cotton balls, small rhinestones, or sequins.
Everything you need to create a masterpiece is already at your fingertips.
How to Make a Paper Scraps Snowflake: A Step-by-Step Guide
The creation process is so intuitive that a child will quickly grasp the principle and be able to create almost independently.
Step 1: Prepare the Paper “Ice Crystals”
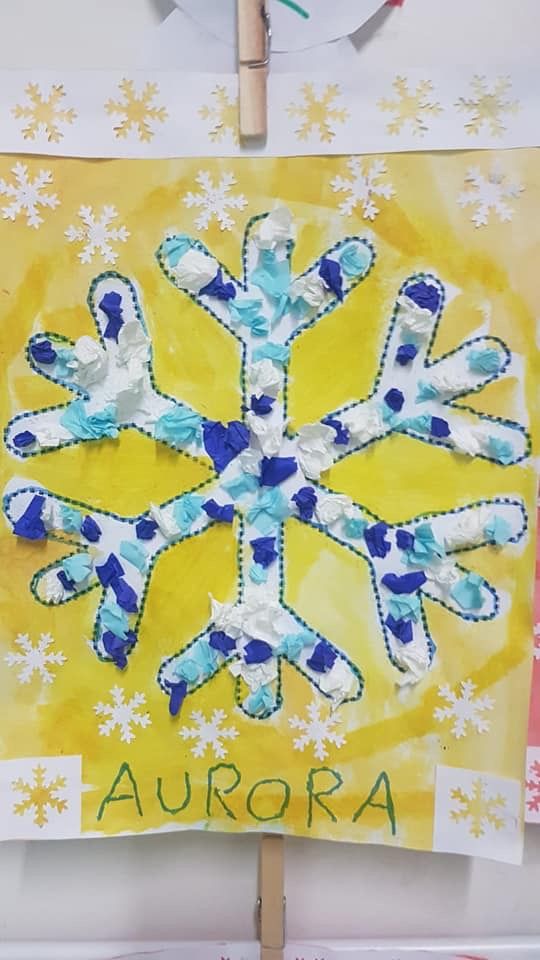
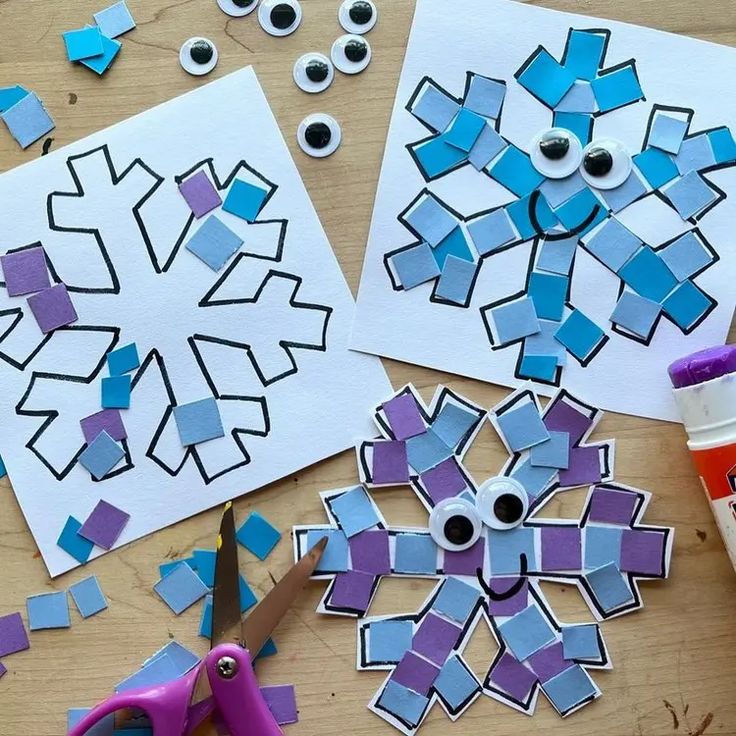
This is every child’s favorite stage! Invite your child to tear or cut the prepared paper into lots of small pieces. Don’t aim for perfectly even squares — the beauty of this technique lies precisely in the chaotic, irregular shapes.
Step 2: Choose and Transfer the Template
Print the snowflake template you like. There are two ways to transfer it onto the dark base:
-
For Toddlers: Cut out the snowflake template and glue it onto the cardboard. The child will fill the ready-made shape with scraps.
-
For Older Kids: Cut out the snowflake, place it on the cardboard, and trace the outline with a white pencil or a dry piece of soap.
Step 3: Create the Paper Mosaic
Now the magic begins!
-
Using a brush or directly from the tube, apply glue to a small area inside the snowflake outline.
-
Invite the child to “sprinkle” the glued area with paper scraps.
-
Repeat this process until the entire snowflake is filled. Try to glue the pieces close to each other to avoid large gaps.
Final Touch: While the glue is still wet, you can sprinkle the finished snowflake with glitter to make it shine like a real one.
Ideas for Inspiration: How to Diversify the Craft
-
“Fluffy” Snowflake. Instead of paper scraps, or along with them, use small balls rolled from cotton wool or white napkins.
-
Shiny Mosaic. Use pieces of foil or shiny wrapping ribbon. Such a snowflake will shimmer in the light.
-
Reverse Appliqué. Glue a sheet of paper with a pre-cut snowflake silhouette onto the base. Then, invite the child to fill the empty space inside with scraps.
-
Cereal Snowflake. Instead of paper, you can use semolina or salt. Just coat the outline with glue and generously sprinkle it with the cereal.
Frequently Asked Questions (FAQ)
1. My child can’t use scissors yet. Is this technique suitable?
Absolutely! This appliqué is perfect for the tearing technique. Tearing paper is an important stage in motor skills development that precedes the ability to cut with scissors.
2. Which paper is best for tearing?
Little hands find it easiest to work with thin paper: napkins, newspaper, or old magazine pages. Regular office paper will also work.
3. How to neatly transfer the snowflake outline onto dark cardboard?
A white or silver pencil is best for this. If you don’t have one, use an old trick — a thin, sharpened piece of dry soap. It leaves a clear but easily erasable line.
Conclusion
Paper scraps snowflake appliqué is a wonderful idea for a quiet winter evening that will bring the whole family together for a creative activity. This DIY craft not only helps to usefully “recycle” paper remnants but also gives the child the invaluable experience of creating beauty from the simplest things.
Don’t be afraid to experiment with colors and textures, and don’t scold your child for messiness. After all, the main thing in this process is not the perfect result, but the joy of creating together.
What winter appliqués do you like to make? Share photos of your paper snowflakes in the comments!